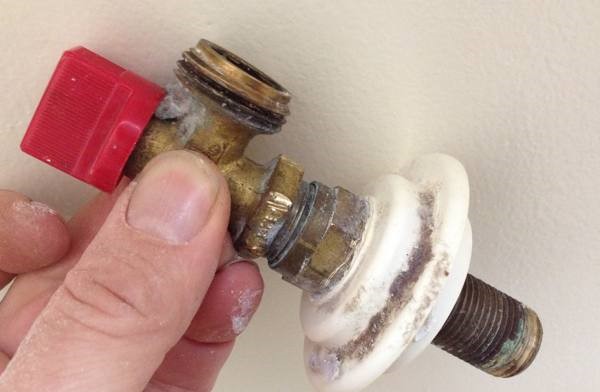
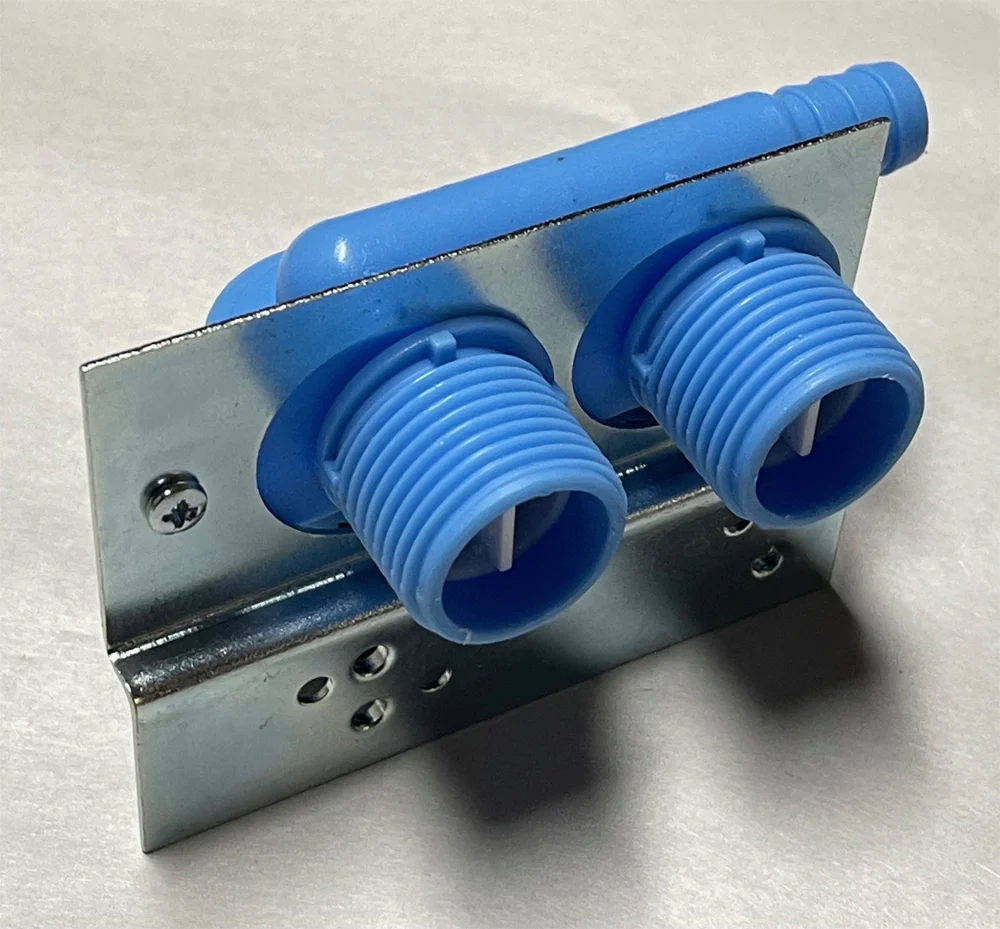
Laundry Valve Replacement and Repair Services in Phoenix, Arizona
Expert Solutions for Your Laundry Valve Needs
- Reliable repair and replacement services for laundry valves in Phoenix.
- Skilled technicians equipped to handle a variety of valve issues.
- Prompt and efficient solutions to restore functionality to your laundry system.
Reliable Laundry Valve Replacement and Repair Services in Phoenix, Arizona by Call-Us Plumbing
Discover excellence with Call-Us Plumbing as your trusted partner for top-tier laundry valve replacement and repair services in Phoenix, Arizona. Our team of seasoned professionals recognizes the essential role of properly functioning laundry valves in both residential and commercial settings. With specialized expertise, we efficiently diagnose and resolve a wide range of valve issues, ensuring prompt and tailored solutions to meet your needs.
At Call-Us Plumbing, customer satisfaction is our utmost priority, and we are committed to delivering exceptional service marked by professionalism, expertise, and a dedication to restoring your laundry system’s functionality.
Efficient Solutions for Laundry Valve Replacement and Repair by Call-Us Plumbing in Phoenix, AZ
At Call-Us Plumbing, we excel in providing efficient and effective laundry valve replacement and repair services in Phoenix, Arizona. Our process begins with a meticulous assessment of your laundry system, where we identify any issues with valves and assess their severity. With this detailed understanding, we tailor our solutions to meet your specific needs, ensuring swift and precise repairs or replacements. Utilizing advanced equipment and techniques, we guarantee efficient and reliable results, swiftly addressing any valve-related issues and restoring proper functionality to your laundry system. Additionally, our commitment to eco-friendly practices ensures a sustainable solution for all your plumbing needs.
Discover the Comprehensive Drain Snaking Services We Offer!
- Experienced technicians for reliable valve repairs.
- Prompt response to valve repair requests.
- Comprehensive assessment of valve issues.
- State-of-the-art equipment for efficient repairs.
- Eco-friendly practices for sustainable solutions.
- Transparent pricing with no hidden fees.
- Guaranteed customer satisfaction with every service.
- Upfront communication throughout the repair process.
- Proven track record of successful valve replacements.

In their pursuit of excellence, the dedicated team at Call-Us Plumbing ensures reliable and efficient laundry valve services, guaranteeing a fully operational home. With skilled technicians at the helm, they swiftly respond to all valve repair requests, swiftly restoring functionality to your laundry system. Their process starts with a thorough evaluation of valve issues, enabling them to craft tailored solutions for each problem. Utilizing cutting-edge equipment, they execute repairs with precision and eco-consciousness, emphasizing sustainable practices throughout. With transparent pricing and a commitment to customer satisfaction, Call-Us Plumbing is your trusted partner for all laundry valve needs, providing peace of mind and reliable service every step of the way.
Faucet Repair/
Replace
Learn More

drain leak repair
Learn More

Slab Leak Repair/
re-pipe
Learn More

laundry valve repair/replacement
Learn More
Looking For Something Else? Click Here To View All Services

Discover the Benefits of Call-Us Plumbing's Laundry Valve Replacement and Repair Services!
Efficient Solutions for Hassle-Free Laundry Maintenance in Phoenix, Arizona


F.A.Q
FREQUENTLY ASKED QUESTIONS
CALL-US PLUMBING
Expert Solutions Tailored to Your Needs
Unlock peace of mind with our Plumbing services delivered by certified experts who possess the knowledge and skills to tackle any challenge.
Our team undergoes rigorous training and certification processes, ensuring quality workmanship and reliable solutions for all your needs.
Commitment to Sustainability
- Eco-friendly practices
- Community involvement
- Responsible resource management
Quality Assurance & Guarantees
- Prompt and efficient service every time.
- Assurance of quality craftsmanship
- Commitment to resolving any issues
Our Company Values
- Integrity
- Transparency
- Customer Satisfaction
Let's Work Together
Get In Touch With Us
We’re Among the Most Trusted Names in Plumbing Services across the Phoenix, Arizona. Our Reputation Stems from Years of Delivering Quality, Long-lasting Solutions for All
(480) 396-6658
Call directly for assistance
[email protected]
email us
Fill out the form below for assistance
- Surprise, AZ
- Sun City, AZ
- Buckeye, AZ
- Ahwatukee, AZ
- Fountain Hills, AZ
- Chandler, AZ
- Gilbert, AZ
- Peoria, AZ
- Goodyear, AZ
- Paradise Valley, AZ
- Phoenix, AZ
- Scottsdale, AZ
- Glendale, AZ
- Mesa, AZ
- Tempe, AZ
- Surprise, AZ
- Sun City, AZ
- Buckeye, AZ
- Ahwatukee, AZ
- Fountain Hills, AZ
- Chandler, AZ
- Gilbert, AZ
- Peoria, AZ
- Goodyear, AZ
- Paradise Valley, AZ
- Phoenix, AZ
- Scottsdale, AZ
- Glendale, AZ
- Mesa, AZ
- Tempe, AZ